Getting your design launch-ready is more than just making it look good; it’s crucial for keeping your brand’s reputation spotless. Imagine the impact of off-brand colors, shoddy print jobs, cluttered layouts, or using generic stock photos when you should be showcasing real products. Mistakes like these can do more than just mess up your design — they can really ding your brand.
That’s why it’s essential to have a system in place. A design checklist can be a game-changer here, helping both your in-house and freelance designers consistently deliver on-brand, top-notch work.
Let’s walk through a typical design process, from reviewing brand guidelines to submitting the final piece. We’ll also share some best practices and a ready-to-publish checklist to help you craft your own.

Refresh Your Brand Knowledge
The first step to nailing your design is knowing the brand guidelines inside out. Before diving into any design project, do these prep tasks:
- Review the brand guidelines and any design examples from the customer or internal teams.
- Read the assignment brief to get a clear understanding of the design’s purpose and target audience.
- The content for the design work is typically crafted beforehand, so make sure to read the entire piece to grasp the key messages.
Organize Your Design Assets
Now that you know what’s needed, let’s get those design assets in order.
- Download all necessary assets: These include fonts, colors, brand imagery, templates, and other elements. If anything’s missing, contact the customer or key stakeholder(s). Also, double-check the dimensions, dots per inch (dpi), and color mode — you want the final design to look good both on screen and in print.
- Create a folder for the design assignment: You likely already know this, but it’s worth repeating. Especially in team projects, use clear, descriptive folder names so everybody involved can easily locate and manage files. For example, use folder names such as “Fonts,” “Colors,” “Logos,” etc.
- Use consistent naming conventions: These keep files easy to find. For example, use the brand name followed by the type of asset and version number, such as “BrandName_Logo_v1.”
Create the Initial Design
Now that all your assets are in place, you’re ready to start developing initial design concepts. Here’s how to kick things off:
- Sketch out 2-3 design ideas: Create wireframes or assemble mood boards to visualize the project’s overall look and style direction.
- Get concept approval: Get the thumbs up from the stakeholder(s) or customer. Then, start the initial design.
- Take a break: When done, take a short break before changing anything. Grab lunch or step outside. This way, you can come back with fresh eyes to see if the design aligns with the brief.
- Save frequently: Frequently save your work, both locally and in the cloud. Ensure your cloud save is always up-to-date, as design programs can crash if the file size is too large or the design contains too many complex elements.
- Check the copy: Ensure all text from the creative brief has been added to the design and is accurate. Missing text can affect the design’s layout and overall look.
- Export the design in the required formats: Make sure each file is named accordingly, whether PDF, PNG, JPEG, etc.
Check out our comprehensive publish-ready content checklist for creating content that consistently hits the mark.

Review the Initial Design Draft
Take a close look at the design and perform at least two review passes before asking a peer or content expert for feedback.
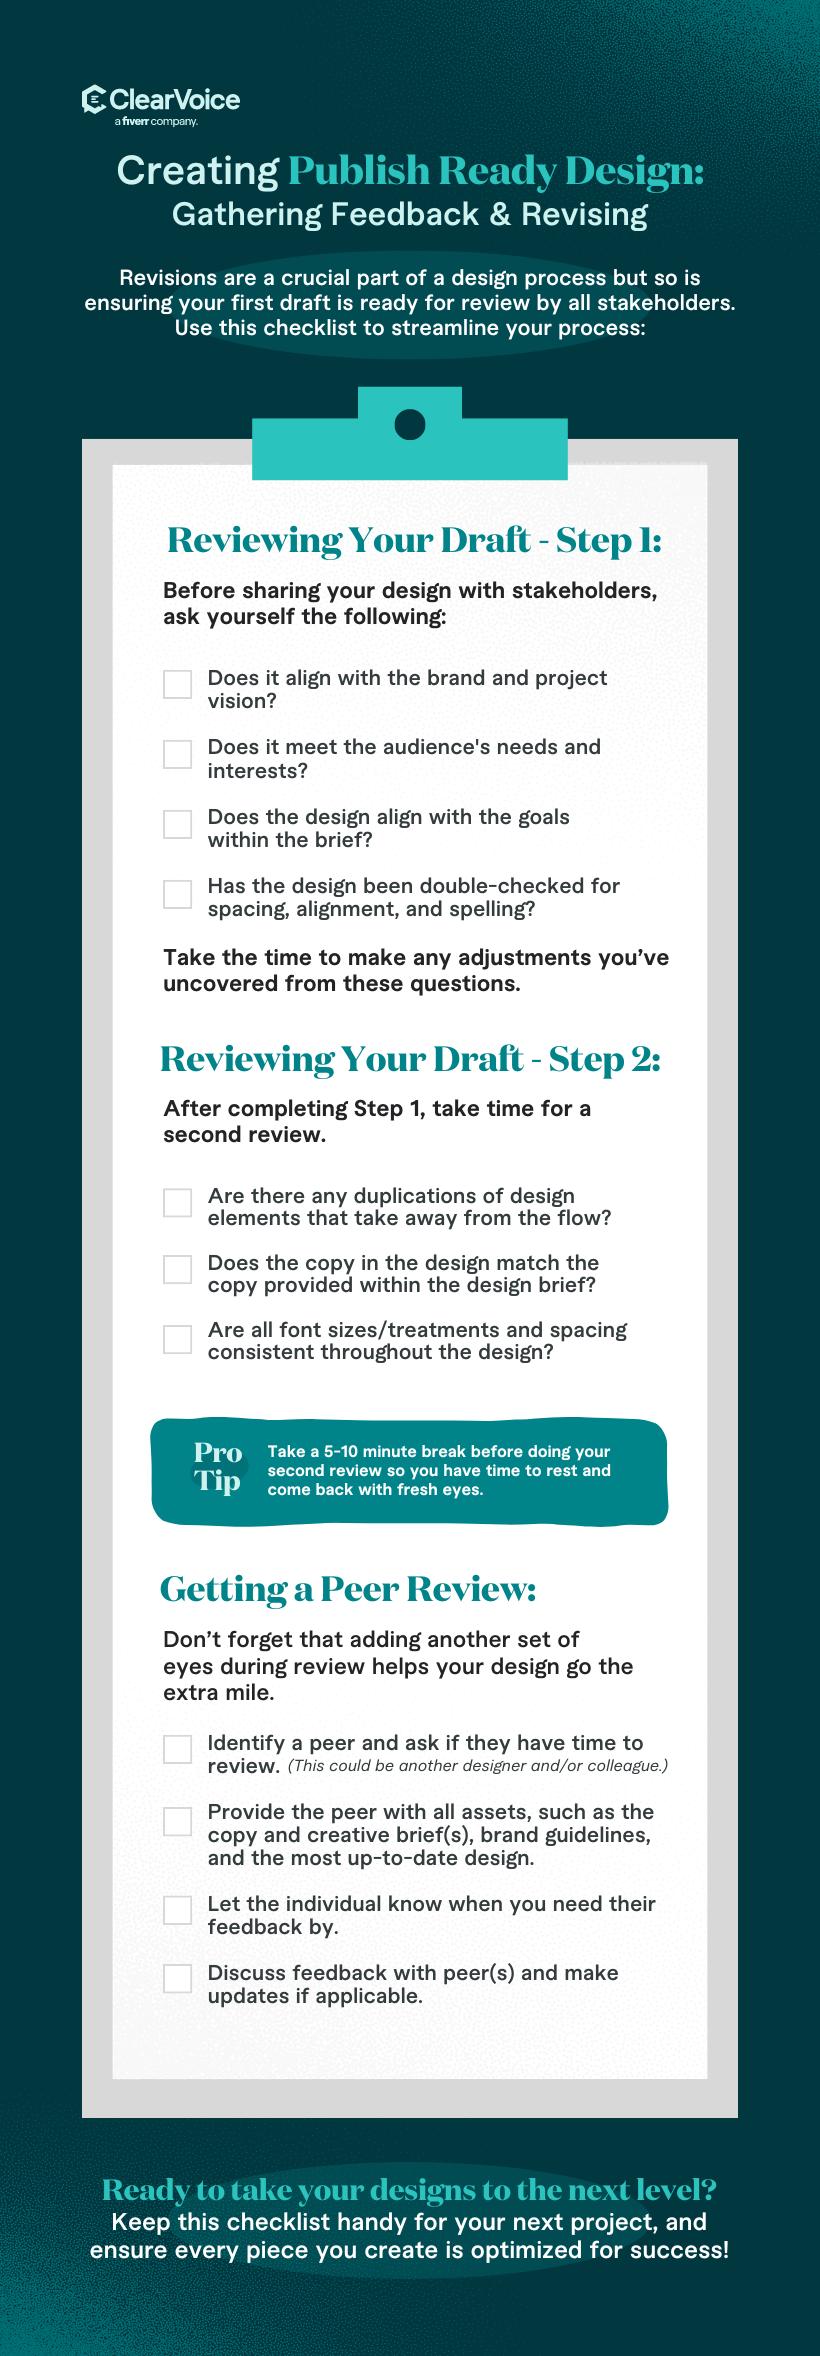
First self-review pass
During the first review pass, ask the following questions:
- Does the design align with customer branding and project vision?
- Does it address audience interests and needs?
- Is the design consistent with the goals laid out in the creative brief?
- Are all text elements properly aligned and spaced? Do they follow the brand guidelines for fonts, sizes, and styles?
- Does the copy integrate seamlessly with the visual elements of the design? The text should complement the images and graphics, not overwhelm or clash with them.
Before moving on to the second review pass, we recommend taking another short break (at least 5-10 minutes should do) to refresh your perspective.
Second review pass
Questions to ask:
- Are there elements that have been unnecessarily duplicated? These can affect the layout and confuse design reviewers.
- Are there any elements that seem misaligned or inconsistent? Double-check their arrangement and placement, and tweak as necessary.
- Are all font sizes, treatments, and spacing consistent throughout the piece?
Peer/internal expert review
When asking a peer or manager to review the design, make sure to send them the following:
- All project-related assets, including copy, creative brief, and branding requirements, to help them understand the design goals and guidelines
- The exported design
- Any items or questions you’d like the peer or manager to provide feedback on, such as design or content questions
- A feedback mechanism for sending feedback (e.g., PDF comments, feedback forms, collaborative platforms like Figma, email, annotation tools like MarkUp.io)
Review all feedback provided and discuss any important points, if necessary. Then, make any relevant changes.
Submit the Design
Submit the design via the agreed-upon platform like Trello, Asana, or Milanote, and let the stakeholder(s) know that it’s ready for review. Include source files if requested. This saves time and ensures everything’s ready if no revisions are required. Next, mark the assignment as “complete” in your project management system to keep track of tasks that have been completed or are still pending.
Revise the Design
The average number of revisions on a design project is around 1-3. The revision process typically plays out this way:
- Review the revisions requested: Make sure you completely understand each piece of feedback. If anything is unclear, ask your stakeholder(s). Arbitration may sometimes be needed, such as when multiple reviewers provide conflicting opinions, requests deviate from the overall design strategy and guidelines, and revision requests fall outside the project’s scope.
- Make the changes: Implement the changes according to feedback. Make sure they’re consistent with the rest of the design.
- Review the revised design: Double-check that all revision requests have been addressed. Repeat the peer review process to make sure nothing falls through the cracks.
- Save each revision as a separate version: This is particularly useful if the customer wants to revert to a previous iteration or compare changes across different versions.

Conduct a Final Review
Give your design one last look to catch any issues that may have been missed, such as typos, incorrect spacing, alignment issues, missing images, or unintended color shifts.
If anything in the design needs more input or further clarification, make detailed notes for the customer or relevant stakeholders. This can include compliance and legal checks.

Submit the Final Design
In this step, you’re ready to hand over the final design. Make sure it’s the absolute latest and final version.
Depending on your process:
- Upload it to the designated platform for final deliverables, such as Google Drive or a similar cloud storage platform
- Use a file transfer service like WeTransfer
- Attach them to an email (for smaller files only)
- Upload the files in a shared project workspace
If using a storage platform, delete any older versions to avoid confusion.
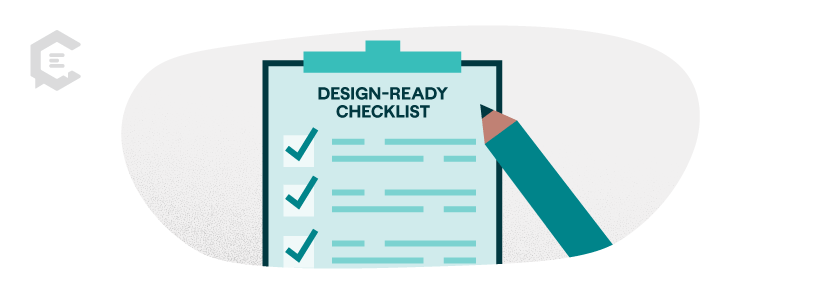
Create Your Design-Ready Checklist
A good design-ready checklist ensures the design process is thorough, smooth, and aligned with your goals. The key is making sure it works for you, so it’s critical that it reflects your process. As your process evolves — and it will over time, in response to feedback, new design standards, market dynamics, or organizational changes — so should your checklist.
Based on the process we discussed above, here’s our design-ready checklist for quick reference:

Pre-design
- Review brand guidelines and any design examples
- Review the assignment brief to understand the design purpose and target audience
- Read the copy/piece to grasp the full context
- Download necessary assets (e.g., fonts, images, templates, etc.)
- Create a folder for the assignment
- Ensure correct dimension, DPI, and color mode
Design
- Develop initial design concepts
- Get concept approval
- Create initial design
- Ensure copy is added to the design
- Export the design in the correct formats (e.g., PDF, JPEG, PNG, etc.)
- Conduct self- and peer review
- Submit design, including working or source files
Design revision and final review
- Review revision requests
- Implement revisions
- Conduct self- and peer review
- Save each revision as a separate version
- Conduct a final review to catch any potentially overlooked issues
- Make notes for customers or internal stakeholders regarding any clarification or request for special review
Final submission
- Submit the final design version
- Delete or archive older versions on shared drives to avoid confusion
Need help creating publication-ready designs that reflect your project goals and objectives? Connect with a ClearVoice specialist today.